Waterfalls are some of nature’s true marvels. For a start they come in all shapes and sizes with no two the same. From the country straddling behemoths of Niagara, Iguassu and Victoria to the iconic beauties of Skogafoss, Angel Falls or Plitvice Lakes, they inspire wonder and awe. Even the simplest mountain stream can captivate us with their meandering journey over rocks and moss.
For photographers, waterfalls are a dream. Yet often a simple snapshot rarely does them justice. They are easy to capture yet surprisingly challenging to photograph well. However, regardless of your skill level with a camera they continually offer something different as they alter and adapt to the landscape around them through changes in seasons or weather.
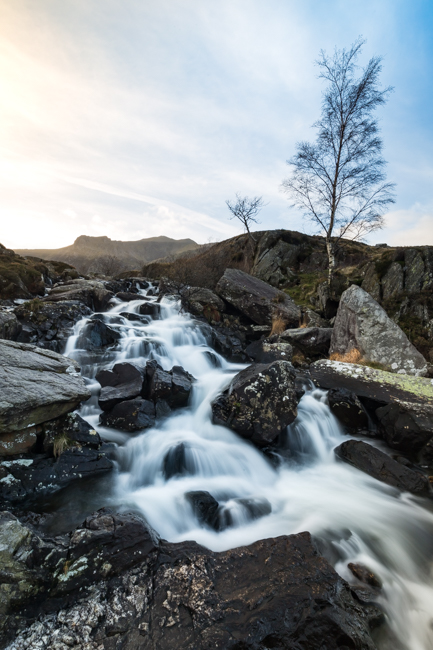
A mountain stream in the Ogwen Valley, North Wales
Wherever your Headwater holiday takes you a waterfall is rarely going to be far away. Whether it is a popular stop on your itinerary or a hidden away beauty waiting for the intrepid traveller to discover its charms, here are some tips to help you capture your own stunning waterfall images.
Equipment – what you will need
It is a common misconception that you need an expensive camera to shoot waterfalls. In the right hands a camera phone or compact camera will do a wonderful job. If you own a camera with adjustable manual settings, such as a mirrorless or DSLR, you will certainly have more control over the type of shot you take but never let a camera limit you. The old adage ‘the best camera is the one you have with you’ always applies.
There are a number of accessories that will also help you. Tripods in particular keep your shots pin sharp and also help you think carefully about the composition. Circular Polarising filters help remove surface glare or reflections from the water while Neutral Density (ND) or ND Graduated filters will help hold back the light for long exposures (see the next tip).
My most useful accessory however is a cloth or towel to dry to your lens from the spray.
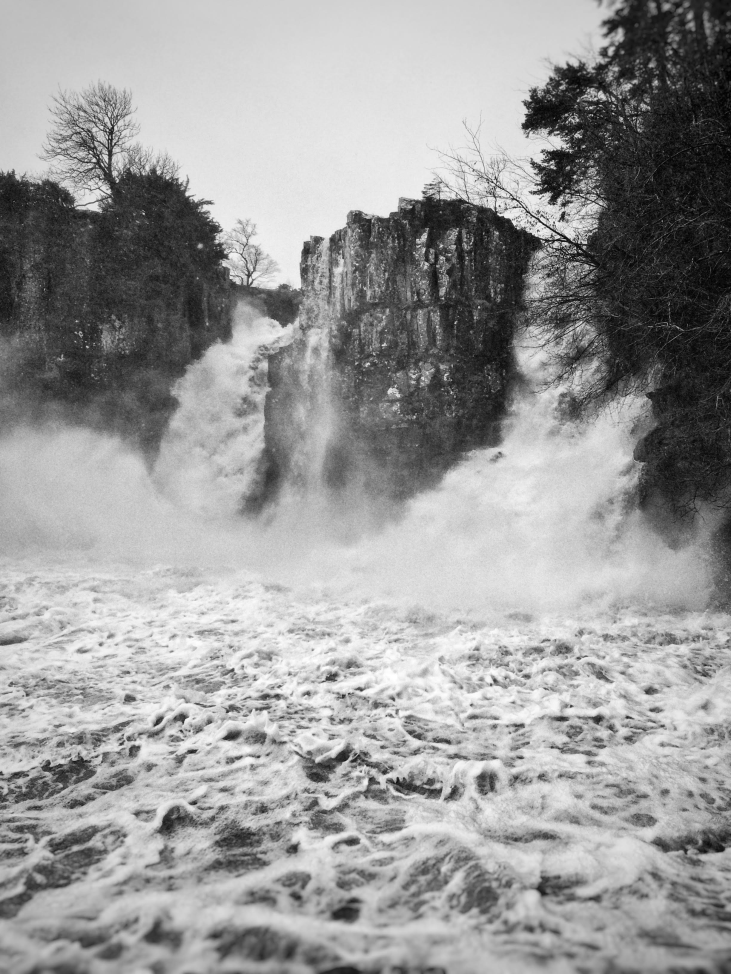
High Force, Co. Durham in heavy rain and spray. Too wet for a DSLR? Use a smartphone
Smooth out the water
A common technique photographers use when shooting waterfalls is ‘long exposures’. This is where the camera’s shutter is left open long enough to blur the water. It requires the camera to be kept perfectly still (on a tripod or solid surface) to keep the rest of the scene sharp and in focus.
The longer the shutter is open the more light enters the camera and you risk
over exposing the image (where everything is too bright and the highlights are blown). Neutral Density (ND) or ND Graduated filters, which attach to the front of the lens, restrict the amount of light that enters and can help keep the exposure balanced.
Long exposures are an easy technique to learn and master with the right tools so don’t be afraid to experiment with your Manual camera settings. (For more information on how to do long exposures keep a look out for a specific blog post coming soon).
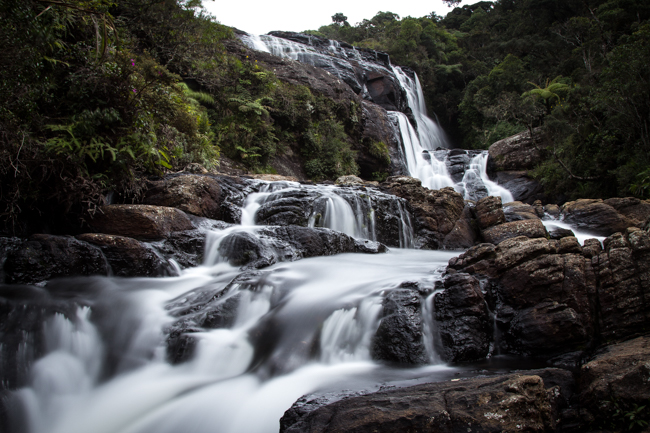
15 second exposure to smooth the water in Horton Plains National Park, Sri Lanka
Show scale
Waterfalls come in all shapes and sizes and bigger isn’t always better. You can get small yet perfectly formed waterfalls. However sometimes it is nice to be able to show the sheer scale of a waterfall and the best way to do this is through the inclusion of people. Another tip when doing this is to consider an abstract of the scene. By not showing the whole waterfall you leave the viewer wondering just how big it is in relation to the people.
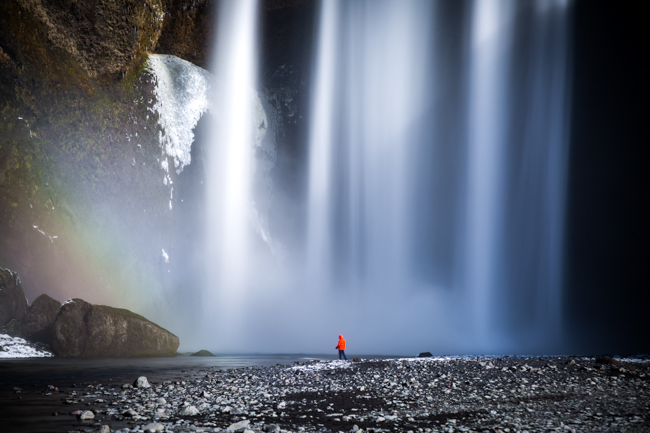
A young man captivated by a rainbow shows the scale of the mighty Skogafoss, Iceland
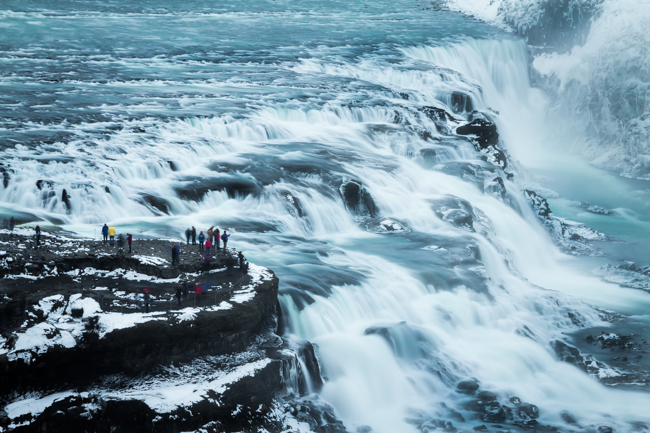
Tourists look out over a section of Gullfoss, Iceland. The inclusion of people shows just how big the falls are
Check your angles
Always think about your composition. In many instances this is far more important than your technical ability with a camera. Move around the area to look for the best vantage points and angles. Don’t be afraid to get down low to the ground for a different perspective. Similarly, experiment with different lenses or focal lengths as these can also drastically change the composition of your image.
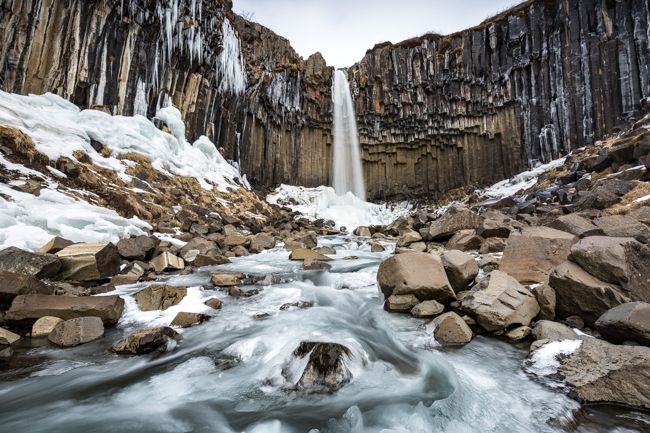
Getting low to the ground with a wide angle lens shows the stalactites on the basalt cliffs surrounds Svartifoss, Iceland
Think about the surrounding area
From the stalactites of Svartifoss in Iceland to the lush vegetation surrounding Iguassu Falls, always check the area around the waterfall to see what you could include or exclude to help improve your picture. Sometimes the rest of the scene can add its own drama or context to the image as well as give the viewer clues about the time of year or your location. Other times you may want to use clever composition to remove the hordes of people standing on viewing platforms, for example if you want to give the perception of an off-the-beaten track slice of nature.
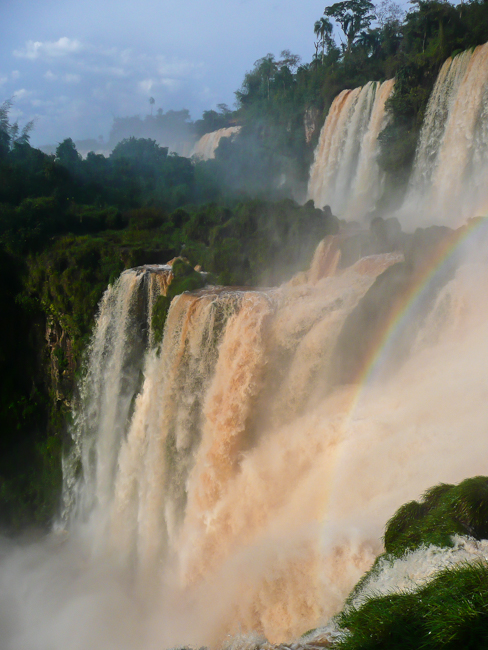
Using composition to remove the walkways and tourists the surround Iguassu Falls, Brazil
Keeping your kit dry
One of the biggest challenges when trying to photograph waterfalls is keeping your camera dry. The spray from a powerful waterfall can cover your lens and ruin your shot (especially long exposures). Always carry a cloth to wipe it clear between shots and watch out for smearing. Sometimes, to get close, you have to accept that you and your camera may get a bit wet but other options are using a longer telephoto lens and take your shots from a distance. You may end up with people in your shot but remember that is not always a bad thing. One of the positives to the spray is that when it gets hit by direct sunlight it can create a stunning rainbow to give your image a boost of colour.
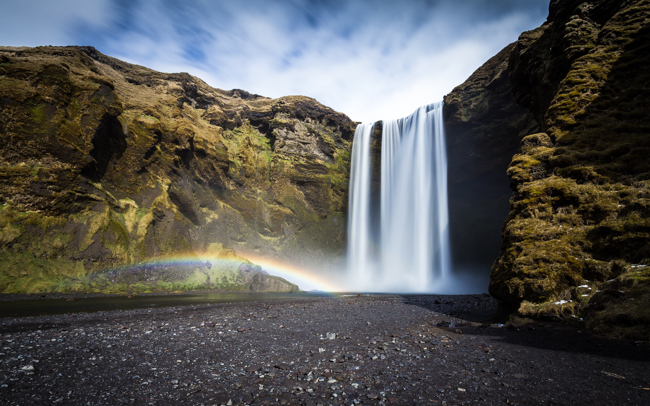
Sunlight creates a rainbow in the spray of Skogafoss, Iceland
All images copyright Matt Parry